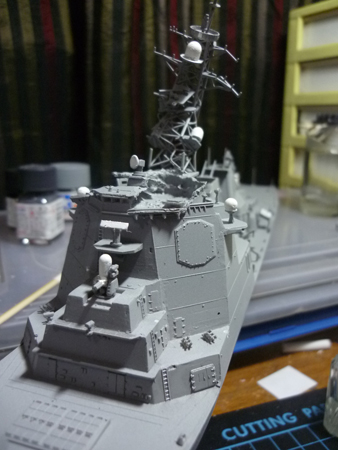
I'd just finished building and painting this 1/350 JMSDF DDG-174 Kirishima a few hours ago before falling asleep early in the morning...
So this post is:
-Painting
-Decals
-Wheathering
I painted the smoke stacks with a acrylic black mixed with a little light gray...
Lifesavers held by a bbq stick covered in masking tape, just because they're too small to handle properly... Hand painted with acrylic off-white and enamel red.
Life boats in white...
Before painting the whole ship, I added a few metal wires to the broken radar tower for additional support...
I used Tamiya Aircraft spray Light Gray and Neutral Gray for the ship...
I sprayed the Neutral gray first then added a dust coat of light gray...
Then I hand painted all the white details...
Then added some German Gray Enamel Washes... to define details and edges...
I also used Black Enamel Wash for the vents since German Gray appeared too light...
Waterslide decal applications... I didn't use all the decals, since some of them didn't actually matched the grooved lines on the kit...
Decal film floating on water...
Decal placed...
Mr. Mark Softer to melt the decals in place... and to make them sink into uneven areas of where they're placed...
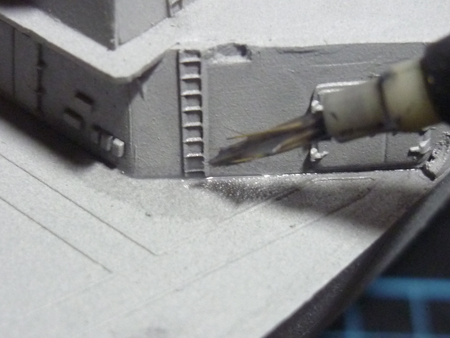
Enamel Red Brown for rusting effects...
Cleaning of excess with cotton buds...
Then finally adding the other painted details like the lifesavers and lifeboats...
A coat of Clear Matte to seal up everything...
Done!
Now I need to make a 2015 ocean for it...
Ja!