Friday, March 18, 2011

EVA-02 Production 2.0 WIP 3

The decals that I used for this was the ones made for the older EVA-02 LMHG Bandai model made in 1995 (onwards...). It also came with a decal guide (made for the older model) but I also followed most of it for this newer model...

As for the shoulder binders seen above, the decal NERV in big size is to be put on the older model, but since the this version of EVA-02 featured a smaller shoulder binder, size doesn't permit so I did my own pattern...

Here's the decals, also comes with decals for EVA-00 Prototype (which I'm wanting to get soon... the Rebuild version...)


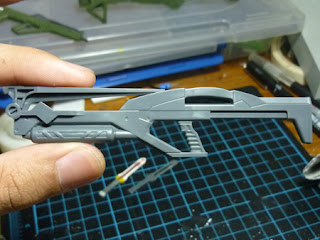
As for the arms, I used the Dry transfer decals that came with the kit... which were a mess to apply on uneven surfaces...

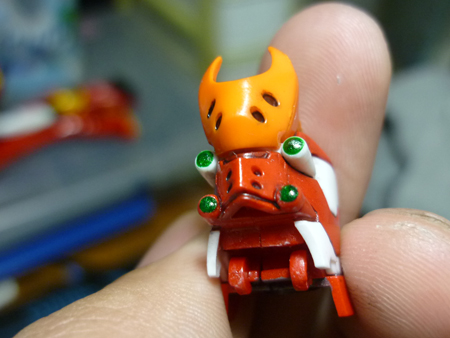
EVA-02 on the head... I scratched the other side, which I had to remove, then replaced it with other Japanese signs...

Decal work on this kit is probably the most problematic for me... with the most number of scratched decals at the moment...

Some decals on the back of the body...

Close up...


NERV logo at the butt, which I also scratched a little (after taking photos...) but it still somehow looks ok...
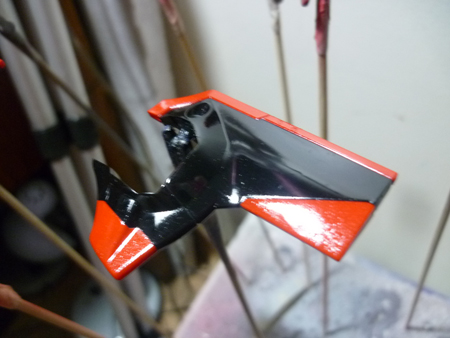
Shoulder binders...

The big NERV sign which was made for the 1995 LM-HG EVA-02 shoulder binders...

Mr. Softer at the end of the job... the moment you apply this, take extra care in handling the model, it makes the decals much more fragile to scratches and slight touches...

I applied a coat of future over the black areas of the lower arms, and a gloss top coat over everything else, but leaving the rubber arms without any coating...

アンタバカ


ジャまた明日

Thursday, March 17, 2011

Chamaro in Causal (and Mari and Hatsune Miku...)

I think it's rare to see cosplayers in their causal selves...

Here's Chamaro in casuals.

plus bonus Mari and Hatsune Miku below...

Wednesday, March 16, 2011

EVA-02 Production 2.0 WIP 2

Evangelion Unit-02 Weapons... A lot of colors...

I didn't bother removing the seamlines nor cementing the halves together... I just painted then straight even without sanding or priming, still looks great... I might do it for every weapon in every kit...

Basically, all the extra weapons and accessories were molded in one color which is gray, which I have to paint in numerous colors to make them look as how they appeared in the series/movies...

Basic green was a mix of NATO green and my mix of light gray (light gray, little parts of silver, german gray, white...)


The lighter shade was the first green mix with more off white parts...


Then Enamel Red for the details...


Black Enamel washes and German Gray mix on those screws and things...


Acrylic white, Acrylic yellow, Enamel red and black markers for the Prog Knife (Future coatings in between...)


I left the Thunder Spear unpainted... it's supposed to be painted with shades of blue but I currently don't have any lighter shades of blue at hand, and my white is at a low...


And the Umbilical Cable unpainted... there sould be some reds and golds there...


Hands attached...

The S-type equipment introduced only in the Rebuild series...

I didn't bother painting them since I have no intention on displaying EVA-02 with them... It was cool to see it in the movie but it wasn't really as memorable as how EVA-02 originally fought in her debut in the Pacific... maybe use it on kitbashing on the future...

There are some nice details on it anyway...


Decals WIP to be posted next...

I'm actually done with everything concerning EVA-02 at the moment...

I just need to work on the base...

Ja!

Tuesday, March 15, 2011

EVA-02 Production 2.0 WIP

 
Finally! I'm almost done with working on EVA-02 Production model, Asuka's own unit. This should have been done over 3 weeks ago but while doing half of the work, I realize it was a bad idea to rush things like these...

So about the first half of the work wasn't documented, which was the removing of seamlines, and spray painting of the reds. But here's the continuation of it just before I can apply the decals...


The knuckles needed to be painted yellow... I used 3 thin coats of TAMIYA acrylic yellow. Then Enamel red on the red part...
 

Defined the panel line at the binders...
Cemented the hands together... The pegs on those parts were loose...
A coat of Future...


Painted the shoulders with cheap green (I don't have supplies of Tamiya green at the moment, and was planning to use the color Park Green...)

Thinned Enamel Red on the reds...

Thinned Enamel black on the blacks...

The Blacks were too light so I used some UNIPIN drawing pens to black them out...
Black enamel wash on the panel lines...


Enamel red on the heels...

More Enamel washes...


Painted the bottom of the foot according to the guide... though a little dark on the light gray there... then used an enamel wash of red for panel lines, too light though...

German Gray mix on the shoulder vent things...

German gray mix under the head...
Enamel wash...
For the Green eyes on the head... I used Flat aluminum for a base coat, then a thinned coat of clear green over it... to produce a shiny reflective finish...
the left was covered in aluminum, then the other side with aluminum and clear green already...
Done...


Things of note... I did made a coat of Future to everything every time I finish a layer of a paint proccess, so I can make sure that doing another different coat of another different type of paint will not ruin the underlaying layers...

Which I think made me do about 8 coats of Future... enough to make EVA-02 this shiny... though there were a mix of textures on the red parts as I had spray painting problems with the red... it was about to run out...


I think blogging about the whole proccess of making something makes it sound a lot easier...
 So I'm about to apply the decals next time...

Ja!

and may Japan have a quick recovery and the world a safer future...
Related Posts with Thumbnails