Sunday, October 20, 2013

1/100 VF-25F MESSIAH VALKYRIE "RANKA LEE"

1/100 VF-25F Messiah Valkyrie "Ranka Lee" Markings Version
Well now it's posted... I actually finished this one months ago, but my work area was cluttered with so much stuff that I couldn't set up for photoshoots...

both the Ranka and Sheryl versions are now complete, with sheryl version's pilot also painted...

anyways...


SHERYL NOME VERSION

Ja... mata..

Saturday, October 19, 2013

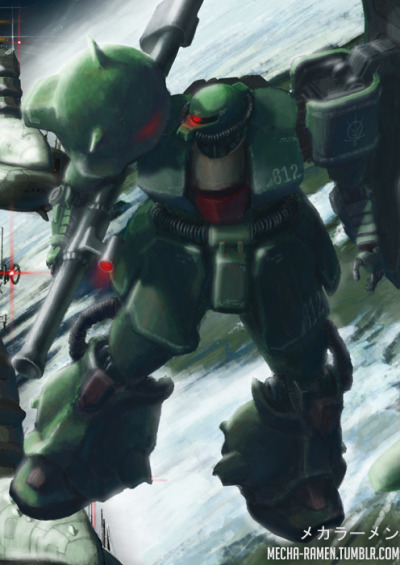
ZEON MS-06FZ ZAKU II FZ WIP 1


HGUC Zaku FZ work progress update...
-to replace stock pipes with WAVE Springs 3.0 and 4.0...
-redesigned head, Mono-Eye details... Kotobukiya + Wave 3.0 lens...
-mechanical details on joints... Sherman parts + Kotobukiya
-proportions...


Heres my general Idea for my own style of Zakus...
More on my sketch-blog http://luna-ii.blogspot.com/

 Ja...

CCA (1988) 1/144 EFSF RGM-89 JEGAN WIP 2

Just a small update on the 1988 Jegans...

I brushed some 500 Mr. Surfacer slightly thinned with Mr. Lacquer thinner over cemented seam lines, still to be sanded... The Most of the concave edges has been refined, most notable on the heads... The weapons have also been sanded/cleaned, sharp edges remained/refined... The 2 long verniers on the backpack of each unit has been slightly reshaped, with the vernier units to be replaced with kotobukiya rectangular verniers...


Here's some color schemes I did...


Ja...

mata...

Thursday, August 15, 2013

CCA (1988) 1/144 EFSF RGM-89 JEGAN WIP 1

So here is three Jegans with improved/added joints/articulation located at the neck, upper arms, and waist...
Took me a while but worth it...
Gonna add additional details, and refine edges/panel lines next...

 I used a couple of leftover polycaps from previous kits and leftover sprue molds for joints...

I cut the upper arms in half guided by some dymo tape...
Then inserted polycaps and glued sprue rods in between...


The head, since it can only turn sideways, I decided to carve out the entire neck leaving a wider space and a clearance so it can also look up or down...
The polycap can be seen but I'll be adding a little more details to hide it... 


The original body had the groin and upper body together...
I cut them in the waist, then made some modifications like what I did on the upper arms...
A caliper is a great help in figuring out the sizes of things...


I've also been using a marker pen as sort of a sanding guide...
It helps me see the areas which a sand easier...
The areas you see with marker streaks are most of the seamlines cemented together,
sanding them over (the marks) erases the areas showing what's left of the areas needed to sand...
It also shows if there are left over seamlines that need to be removed....

Anyways...
most of the harder work are done, gonna add details to these units next...
probably work on the backpack, leg verniers, shoulder verniers, neck, and sheild...
 Ja...
Related Posts with Thumbnails